Aw, Nuts
Well, the last few weeks have been a series of ups and downs.
First, the initial set of plaster rocks crumbled when I tried to remove them from the molds. Old plaster was the likely cause. The second set came out pretty good. I only lost one actual rock, although a couple of the smaller ones broke. I can still use them anyway.
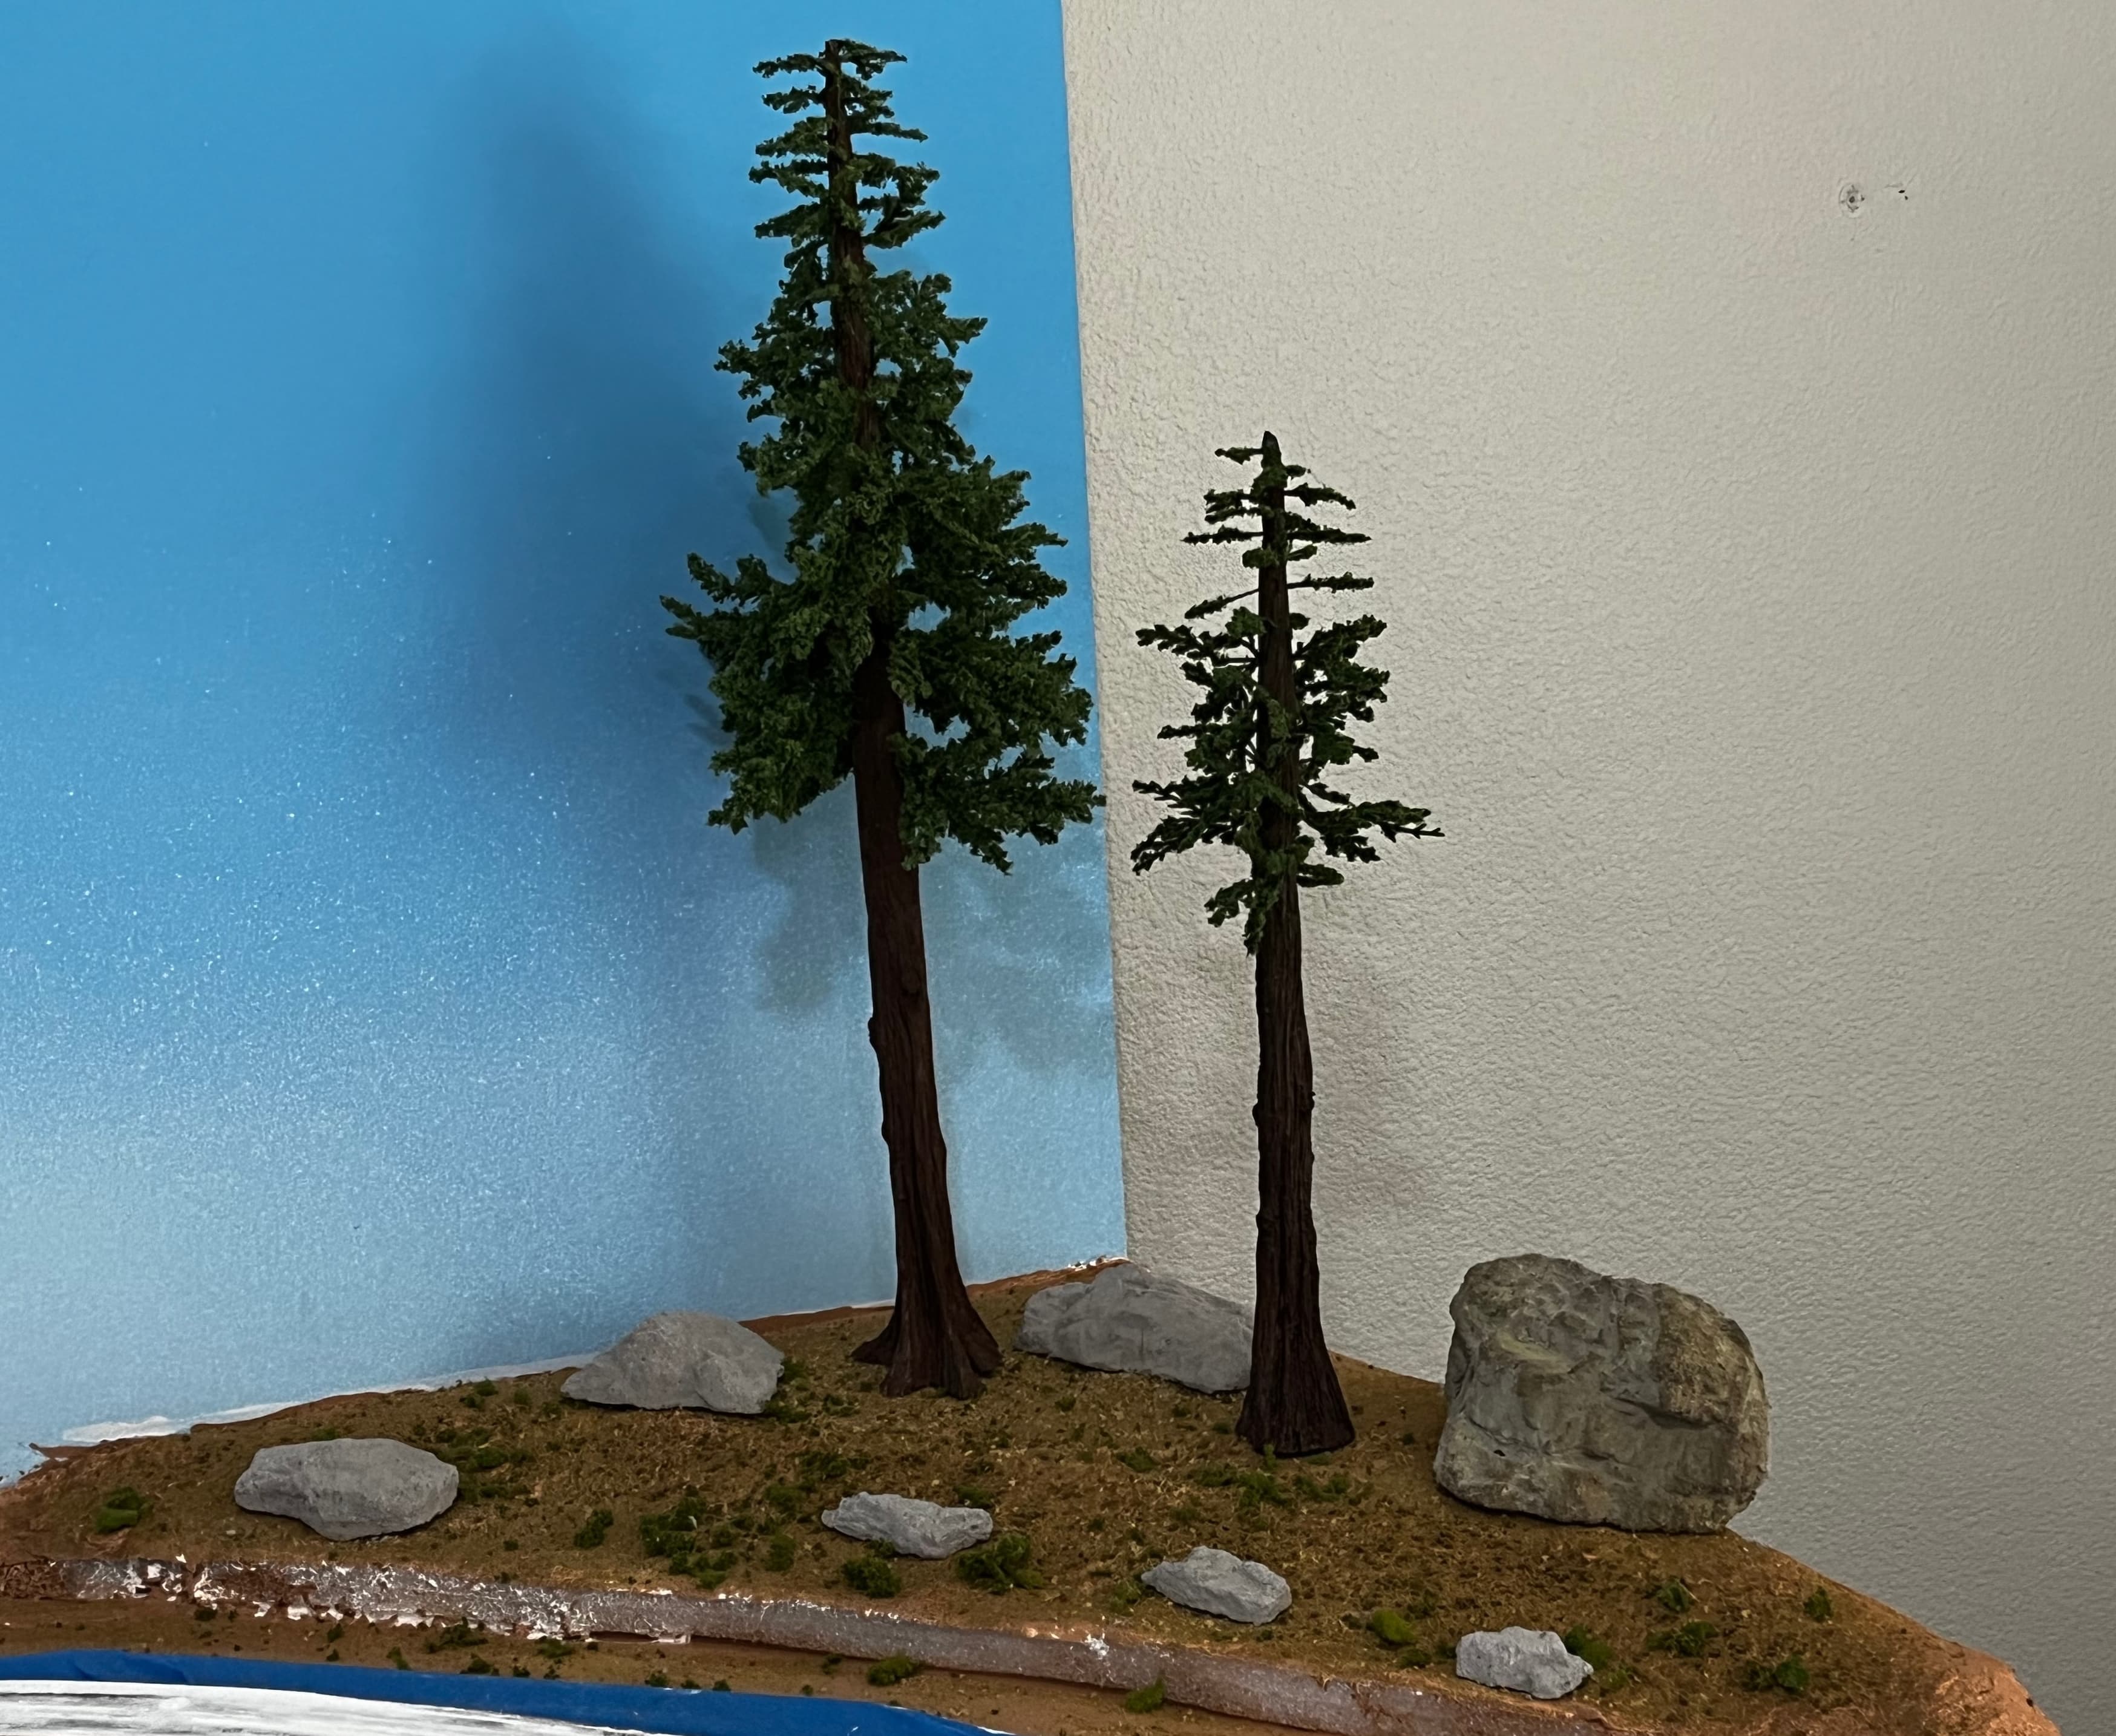
As you can see in the first photo, I've temporarily placed them where I think they will look good. I'm intending to put a partial backdrop on the right side that will angle down to the plywood base. The backdrop will be attached with either velcro or magnets so I can remove it for cleaning and maintenance.
The trees are located in their permanent locations but are not attached. They are held in place with a couple of 1-1/2 inch finishing nails glued in the foam. I drilled a matching hole in the bottom of the trees and just slide them onto the nails. This allows me to remove them in case I need to get to the track near there.
The ground cover is not complete nor are the rocks colored yet, but I will be doing that in the next few days. Then I'll add any additional bushes, stumps, etc. that I want. I will also add a small camping scene after I build the tents and do some minor painting.
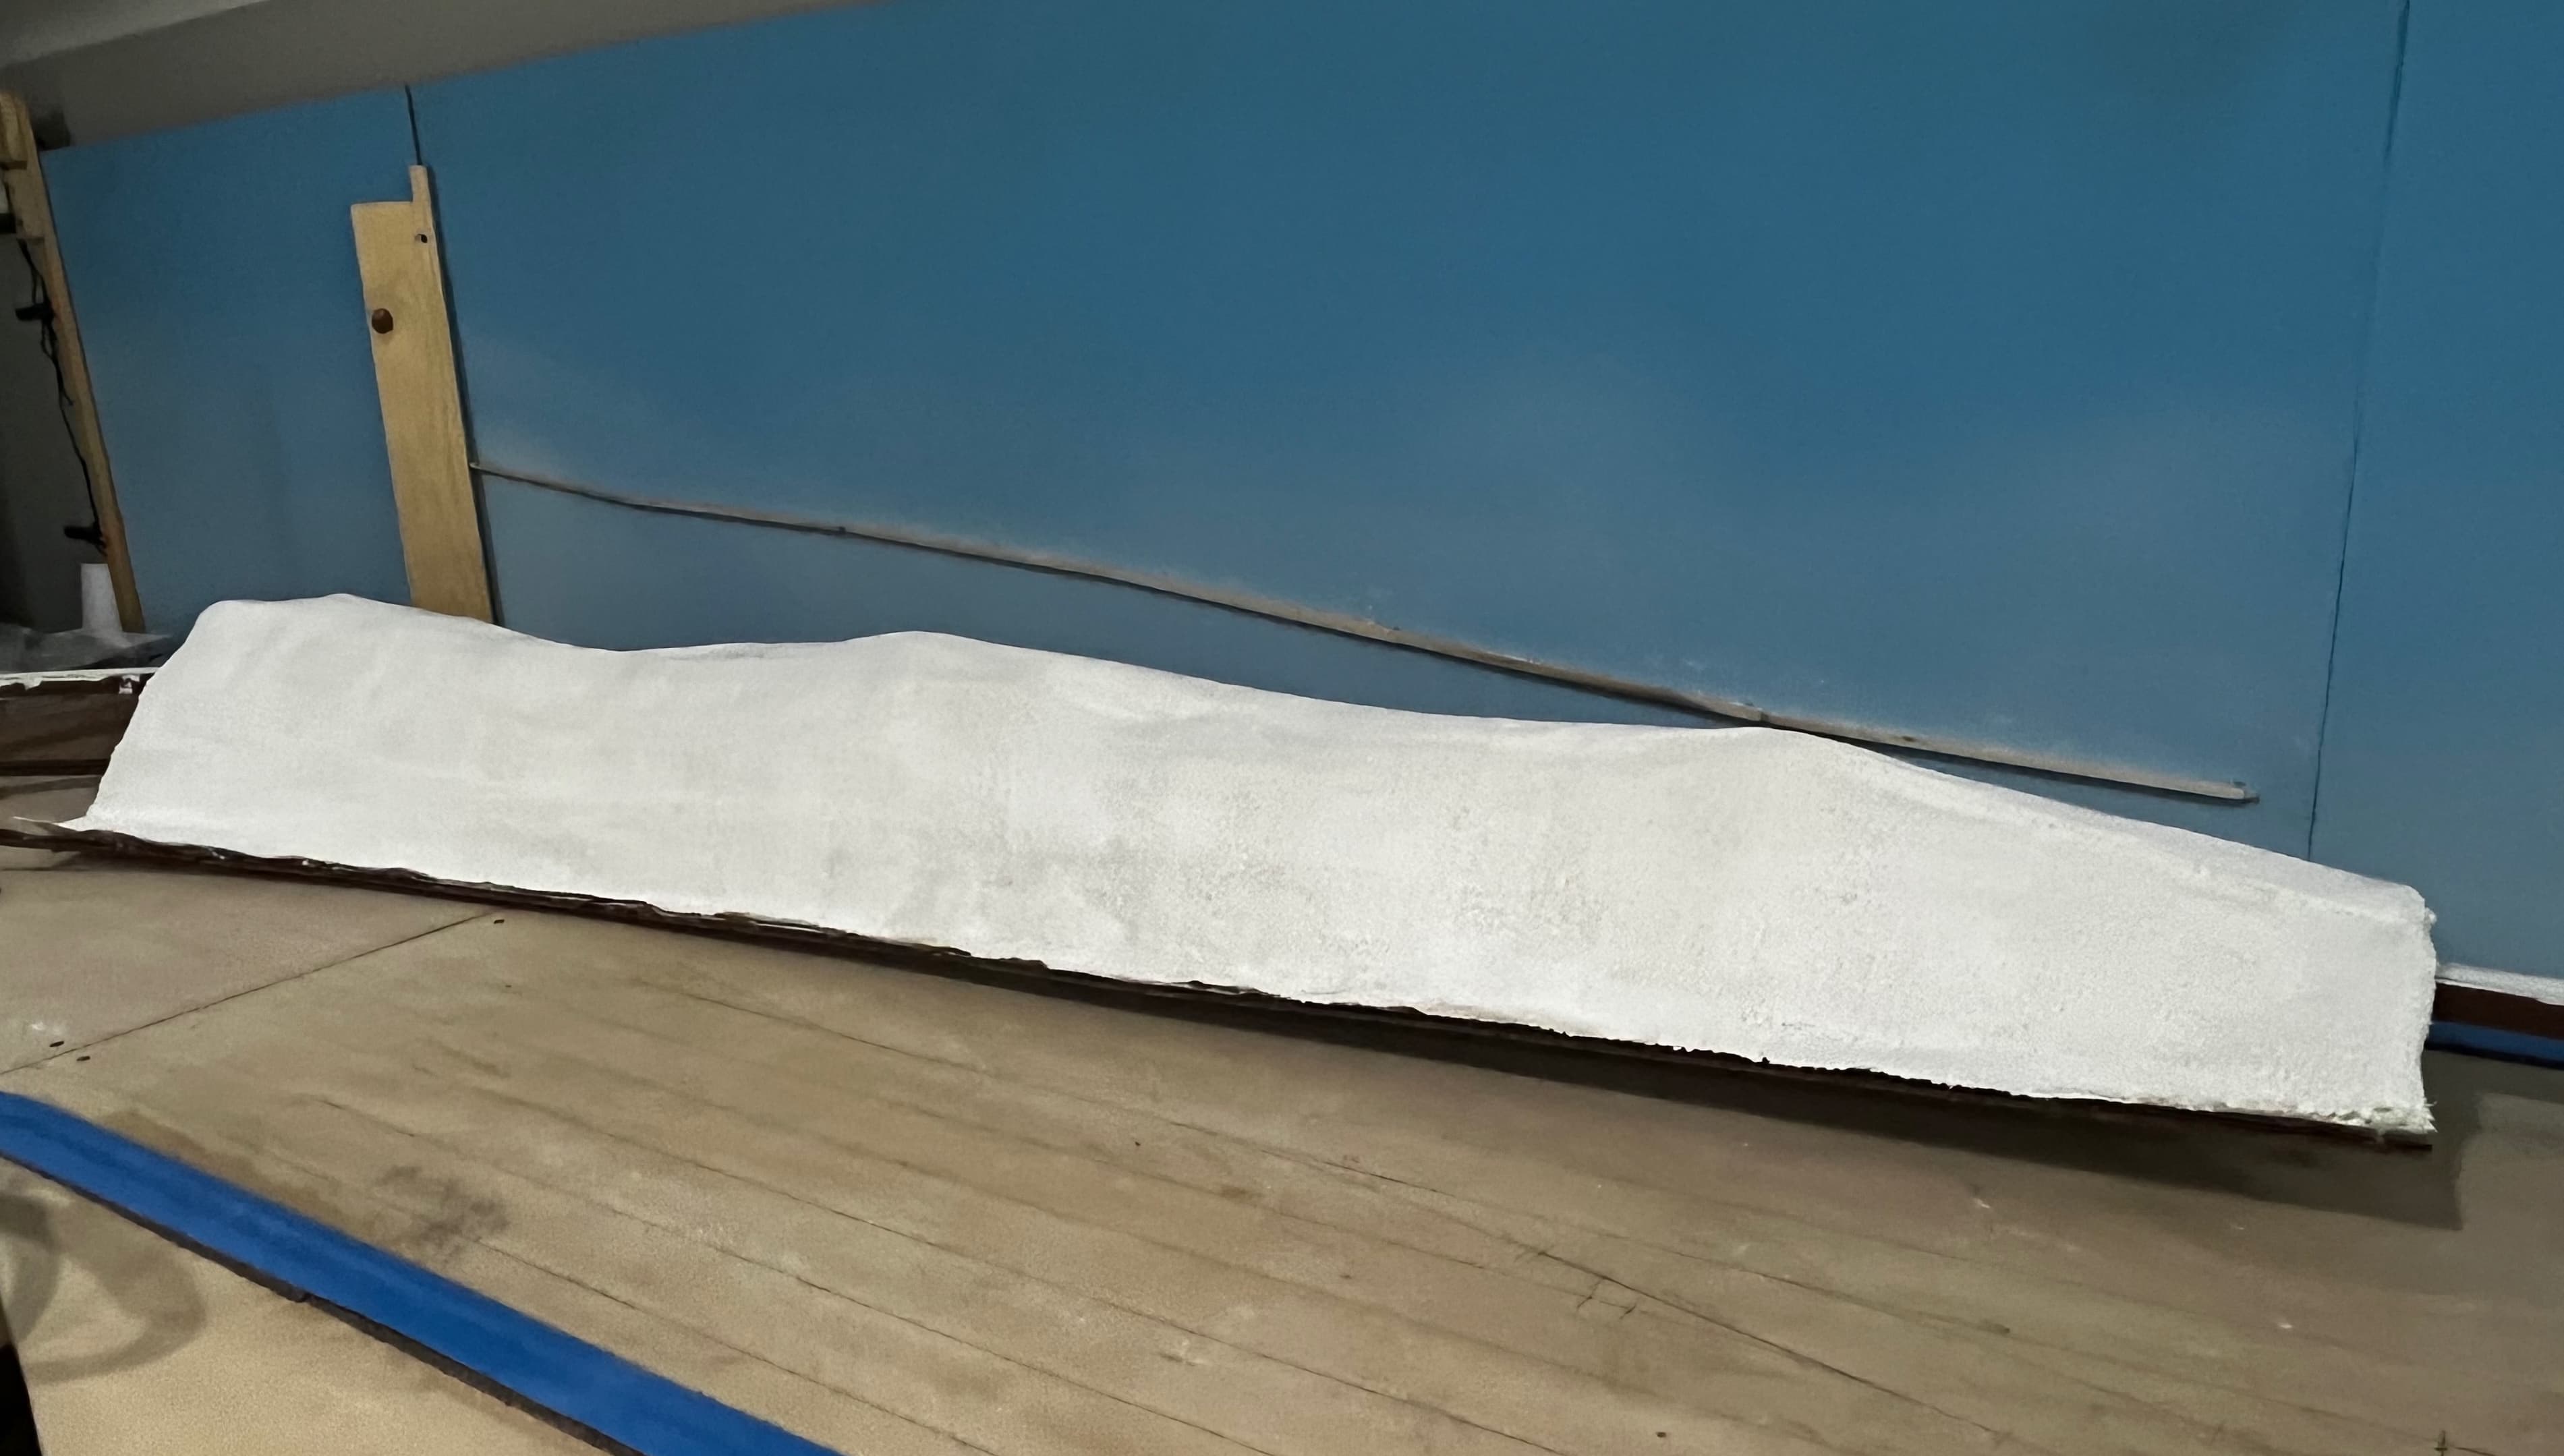
My removable mountainside isn't doing as well. The concept will work but my execution so far hasn't.
I started by hot-gluing wood strips to the backdrop at a constant rising height. It turned out I needed a wider piece of wood, so I glued a second one to the first one. I then hot-glued 2 inch pieces of masonite to the bottom of the elevated track to support the front of the mountain.
Next, I clamped strips of cardboard on the wood and masonite supports as a base of the cross pieces. Finally, I wove cardboard strips horizontally and vertically to a shape that looked realistic. Now for the disappointing part.
I placed plaster cloth sheets on the cardboard mesh and wet them with water from a sprayer. Using a 1-1/2 inch paintbrush, I blended the plaster so that the majority of the cloth holes were filled. I did this the entire length and height before adding a second layer, and then a third, and sometimes a fourth. Each piece overlapped the adjacent ones by about one-quarter so they would provide a strong base for the scenery and allow removal without damage. Or so I hoped.
While adding the plaster cloth, I was not able to get the back of the mountain top, so I removed the clamps (with some difficulty), and then removed the mountain. Here's where I ran into the first problem. The base cardboard wasn't strong enough and flexed such that the shape was affected. I decided that more cardboard there wouldn't help, so I hot-glued some masonite to the cardboard base. That seemed to help with stiffening.
I then added several pieces of plaster cloth to the back and wrapping to the front. I also extended the cloth to the bottom, just in case. I left it to dry for a couple of days and then here's where the second problem exhibited itself. When the mountain flexed, the front to back shape/dimensions changed. Now the mountain wouldn't rest properly on the supports. It needed to be expanded in several places. I decided to try with some wood pieces I had left over from the turnout ties (side support pieces). I placed a few in certain locations and tried placing the mountain back on the supports. No go. It was going to take a lot more than what the wood pieces could provide. I'm now going to try to determine the exact shape that needs to be achieved and make some plywood arches to provide interior support. Hopefully, I won't need more than four or five, but I only have 1/2 inch plywood and would rather use something thinner. So I need to make a trip to town once the weather improves (we've had about 9 inches of snow this month plus an inch or so of rain (and it's raining now).
If that doesn't work, I will probably redesign the support system and rebuild the mountain.
Meanwhile, we had a member leave our local train club and I'm now going to be in charge of developing the new Free-mo module layout. I did finally submit my Winter Field Day contacts, so that's done. Next event is Idaho QSO Party on March 7th and 8th.